 With the upcoming Petal & Pen workshop on the 20th of May, I thought I would give you a little bit of a sneak peak in the supplies you will be receiving! They are essentials that will help you kickstart your calligraphy journey, are easy to use, and, in my professional opinion, will give you the best results in the beginning. And if you can’t make it to the workshop, this might make a great start to your calligraphy journey!
Straight Holder
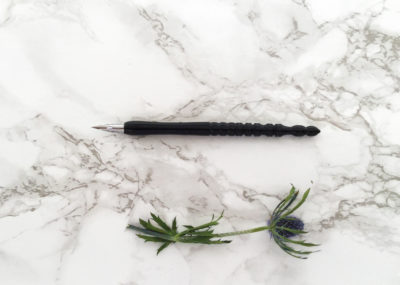 You often see calligraphers on Instagram use an angled nib holder. For beginners though, getting used to the whole dipping-pushing-down-on-the-nib-release-repeat is already hard enough! Straight holders look more like normal pens, and will make the transition to pointed pen a little easier! This one is the first one I owned (also acquired in a workshop ;)), and during the workshop you get one that looks very similar.
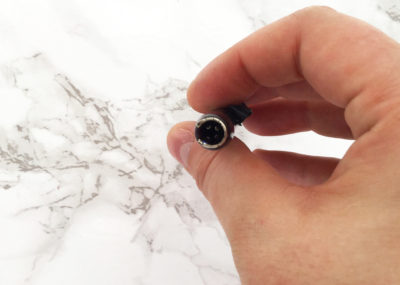 There is a metal insert at the top, with cross-like prongs, surrounded by a metal ring. The nib doesn’t go in between the prongs, but rather in between the ring and the prongs. This secures the nib and will keep it steady while writing.
Nibs
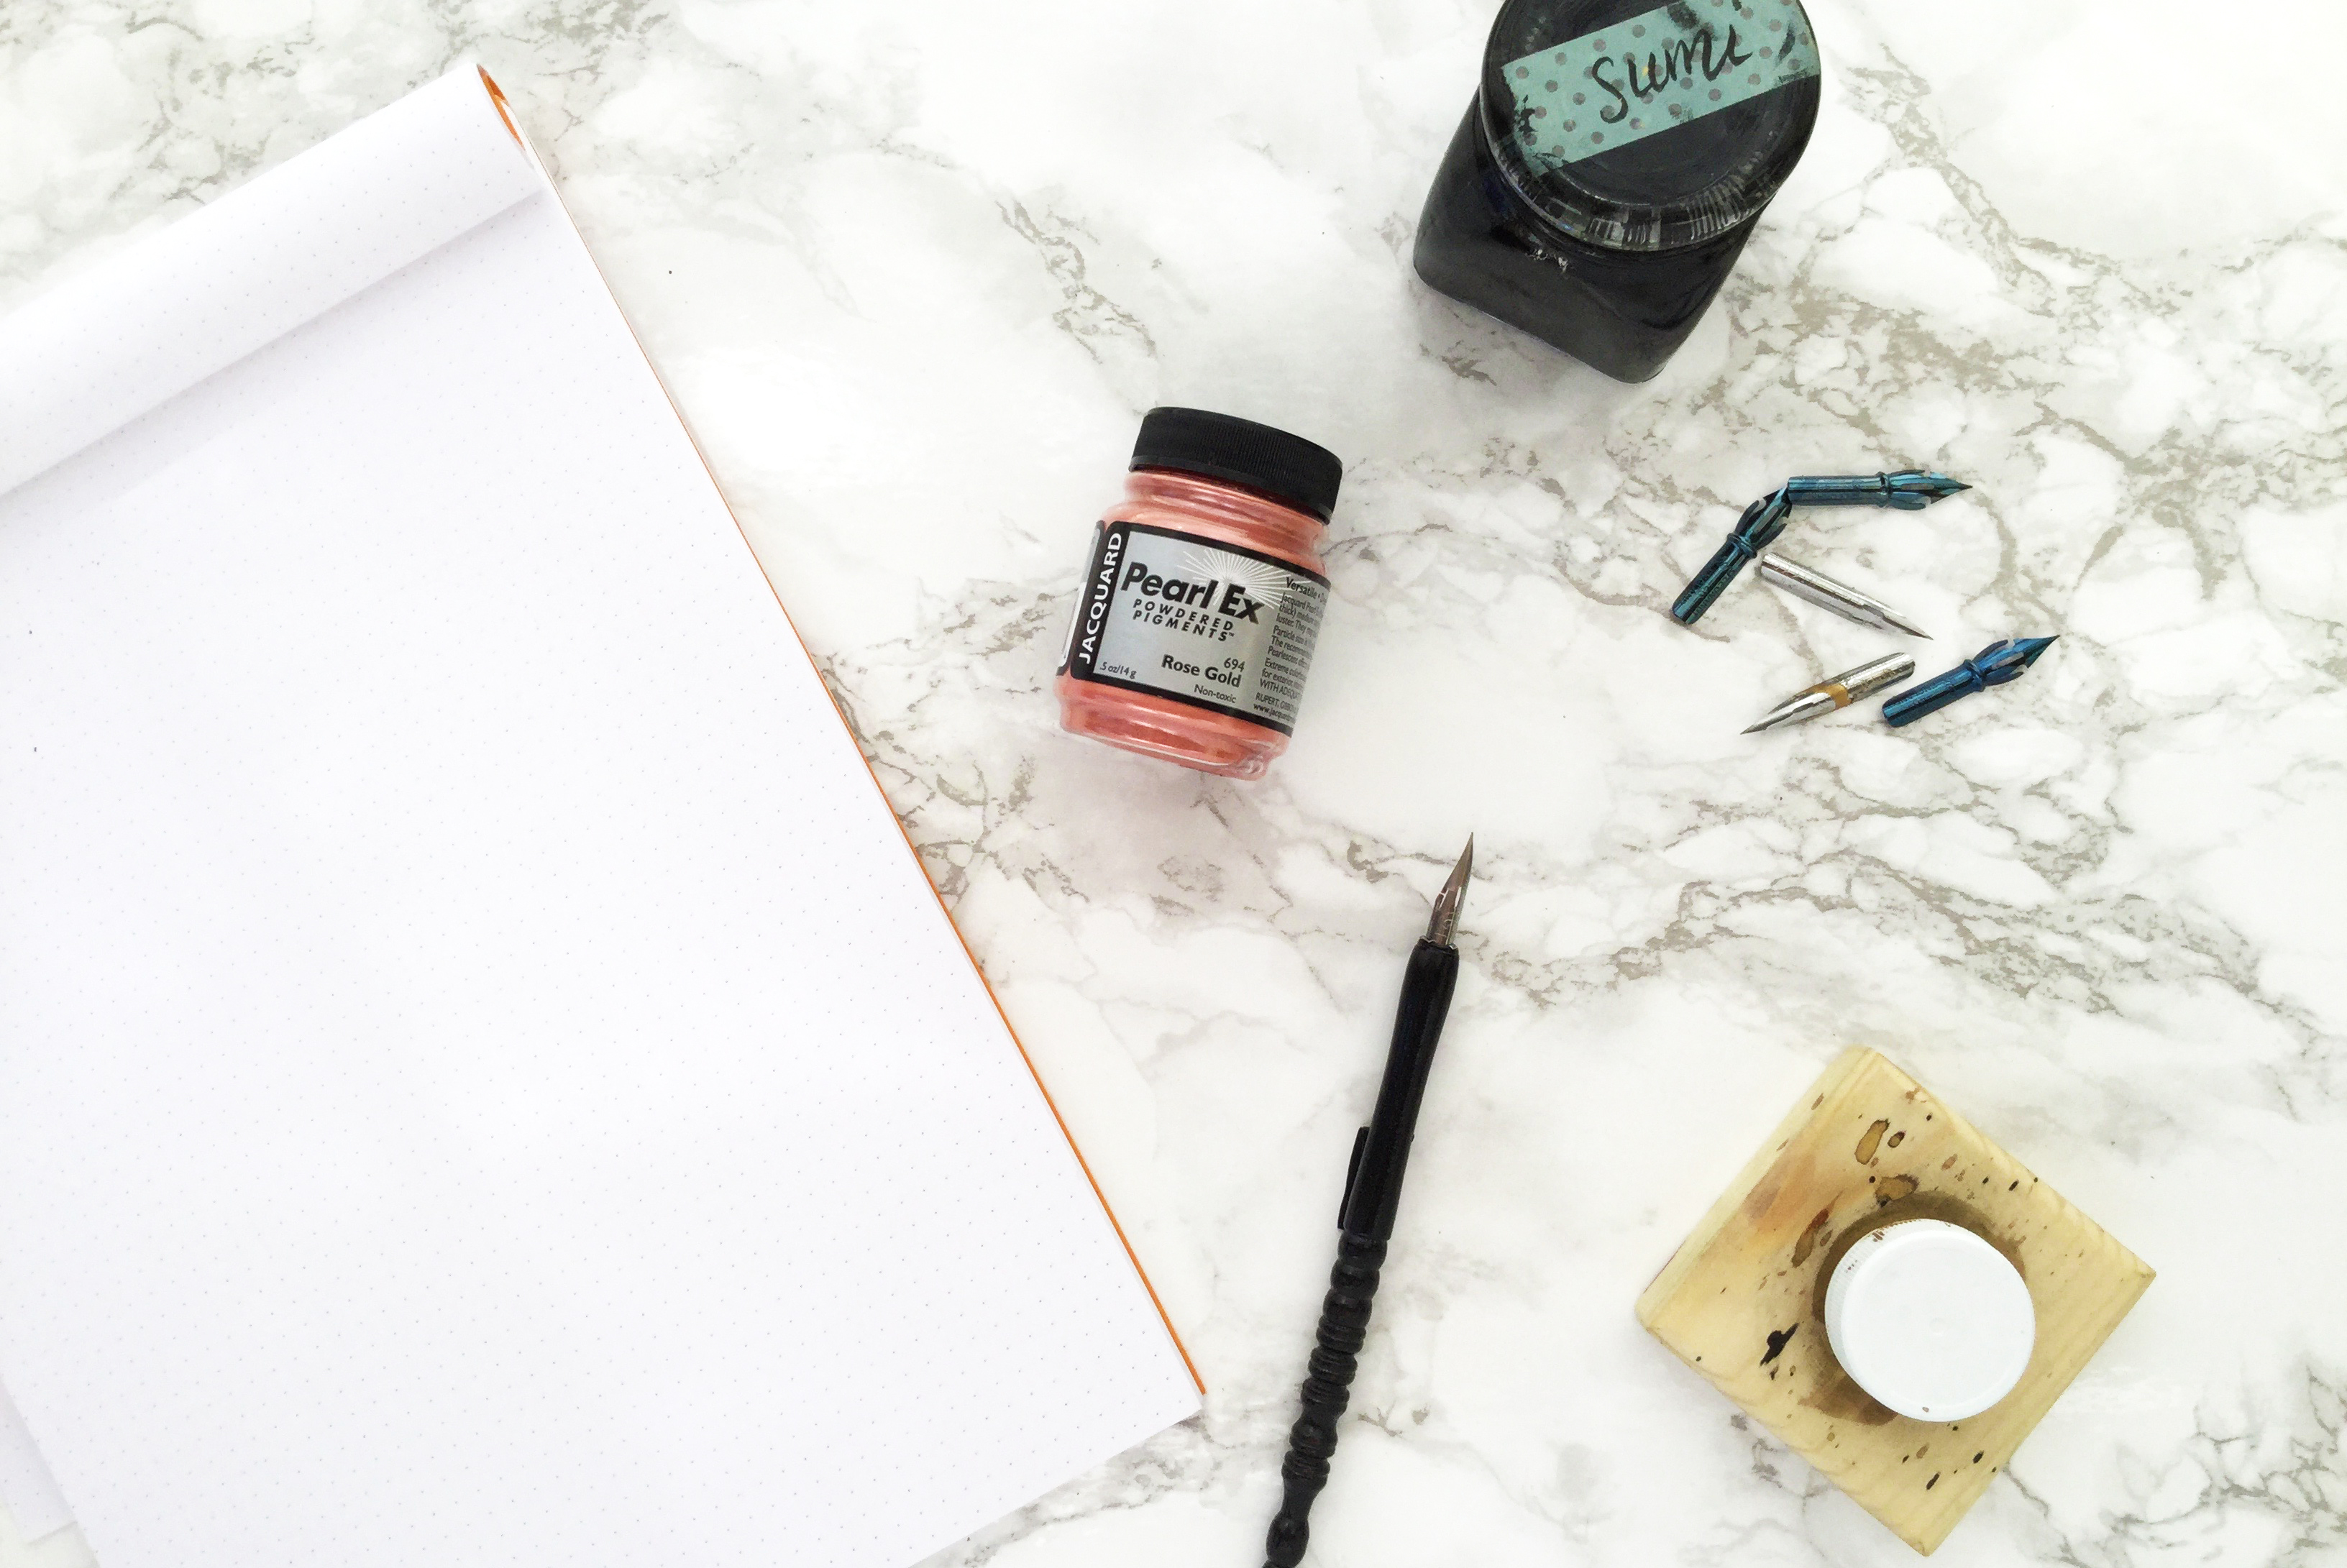
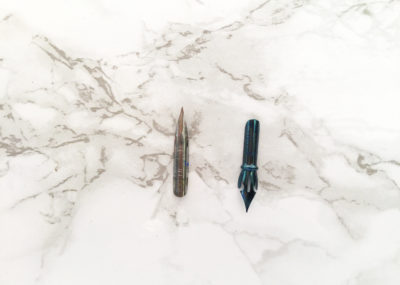 There is always a lot of discussion on what nibs are the best for beginners. The one I recommend is not even the one I learned modern calligraphy with! During the workshop, you start off with a Tachikawa G, this is the silver nib on the left. Beginners usually press too hard on the nib. The “G nibs” are nice and sturdy, and won’t break easily.
You will also get the nib that is one of my standard supplies – the Leonardt Hiro 40 (the blue one on the right). This one is a little more flexible, and gives a nice contrast between thick and thin strokes. It is one of my favorites for modern calligraphy. It is also usuable if you dive into more traditional scripts such as Copperplate, although I would not recommend starting out with it when practicing those. This nib will give you some relief after starting out with the Tachikawa G, since you only need to push down a little bit to create a thick stroke. The difference in force takes some getting used to, so I highly recommend starting out with the G nib.
Inks
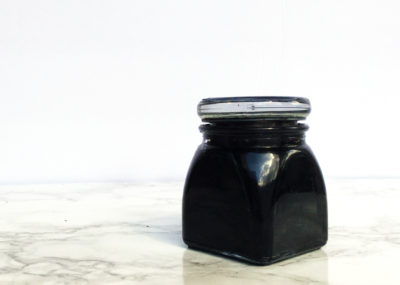 vOne of my favorite supplies for beginners is black sumi ink. This is traditionally a japanese drawing ink, but has been used a lot in calligraphy in recent years. It is super opaque, and cheap to buy, so perfect for practicing. It is also a little thicker, so you won’t get “ink blobs” as easily as with, for example, india ink.
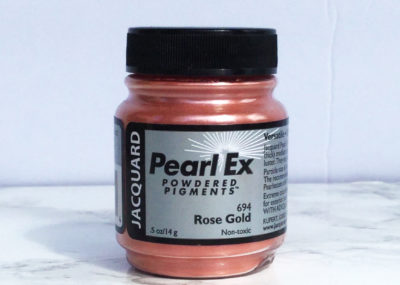 Personally, I love sparkle, and the metallic inks are my favorite! At the workshop, you will either get gold or rose gold Pearl Ex “ink”. Pearl Ex comes in powder form, and requires mixing with water and gum arabic (a binder) to form an ink! For the workshop I have already mixed it up for you, to make it easier! The sparkle in the ink is amazing, because it is super pigmented, and writes really smooth.
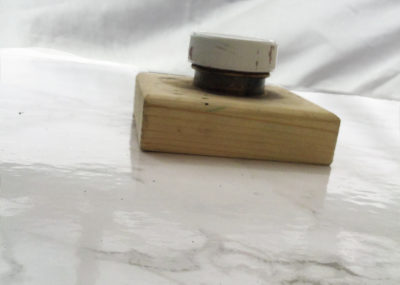 Both inks come in a “dinky dip”, an easy to dip container with a beautiful wooden holder. This so you don’t accidentally knock over your jar (as I admit, I have done a couple of times!). These containers are made especially with calligraphy in mind, and hold a good amount of ink. You receive the large dinky dips from me, so you have a good head start and don’t run out of ink too quickly after the workshop!
Paper
Of course one of the supplies you are getting is paper! Not every type of paper is suitable for calligraphy, and knowing what paper to buy is very helpful. Laserjet paper is usually great for calligraphy, as it is very smooth (so you don’t snag too much) and not as absorbent, so the ink doesn’t “feather”. At the workshop you will get this HP Laserjet paper, which I have found to be amazing for practicing in the beginning.
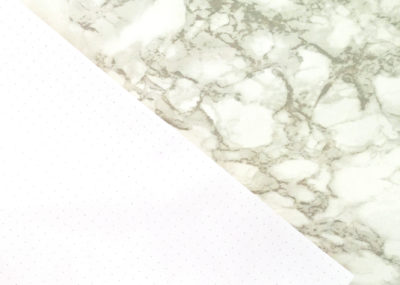 Should you want to really upgrade your calligraphy game though, then you won’t find anything better than Rhodia paper. Not as easily available as Laserjet paper, but even smoother, and better suited for calligraphy. You will get a few sheets to try during the workshop, with a “dot-grid”, which is super helpful in the beginning when you are still figuring out the dimensions of your letters.
Tracing paper is also great to get a feel for the script. You will get two exemplars, lower case and upper case, which you can trace to start off. Once you have a feel for the letter, start practicing it on normal paper!
Petal & Pen
 During the workshop, you get a list with some of my favorite supplies and where to get them. However, you can get all of above supplies (except laserjet paper) through Paper and Ink Arts. Have you become curious about calligraphy? Then sign up for Petal & Pen, which is a combined calligraphy and floral workshop on May 20th at Bird Bakery!
During the 4-hour workshop we will teach you ALL about how to make a beautiful and fun centerpiece, and how to create those beautiful calligraphy letters yourself! You can enjoy some delicious Bird Bakery treats, and soak in the creativity. Also fun as a girls afternoon out! Get your ticket below and then head to the Facebook event to let others know you are going!
Jessica
Super neat Charlotte!!
Amber
i hope you offer more workshops in the future! when i find time for a hobby i would love to learn calligraphy.
callirosa1991
Hi Amber!
I have recently added another workshop date for the 12th of August at Café Martínez! Here is the link: https://callirosa.com/product/calligraphy-workshop-august-12-cafe-martinez-sa/. I hope you can make it!